How to Categorize YouTube Videos
In this post you’ll learn how to upload videos and how to categorize YouTube videos into playlists and sections.
If you’ve had a YouTube channel for awhile, now is the time to clean it up and optimize it by following the steps in this post.
How to Categorize YouTube Video Topics
This post is divided into five topics and will show you:
How to Upload a Video to YouTube
How to Edit YouTube Video Tags and Settings
How to Categorize YouTube Videos into Playlists
How to Create a Section in YouTube
How to Create a Video Thumbnail
Once you’ve set up your YouTube channel, you’ll need to organize your YouTube library. This helps viewers explore your channel and find content they’re looking for.
To properly categorize YouTube videos you need to tag videos and organize them into playlists.
Properly tagged videos will help your content get found in YouTube searches. And it will help your videos show up in YouTube suggested videos.
Playlists make is easier for your visitors to find your content and explore other videos in your channel.
So let’s see how this is done!
How to Upload a Video to YouTube
As long as your video is saved in a supported file format, you can upload it using the following steps:
Upload Your Video
Once you are logged into your YouTube channel, follow these steps:
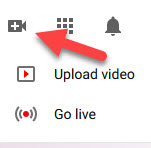
1. Click Upload button located in the upper right corner
2. Select Upload video
3. Click “Select Files” button.
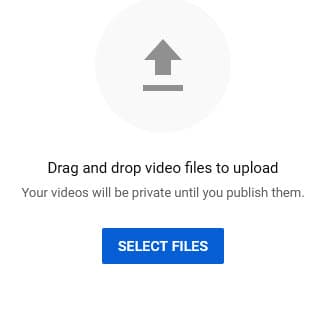
4. Browse to find the file to upload and click on it. Or drag and drop the video files into the upload window.
You can upload videos up to 15 minutes in length. If your video is longer than 15 minutes, you’ll have to increase your limit first by verifying your account.
And now is the time to describe your video and add it to a playlist.
Steps to Categorize YouTube Videos
The following steps should be taken as soon as your uploaded video is done processing but before you click the Publish button:
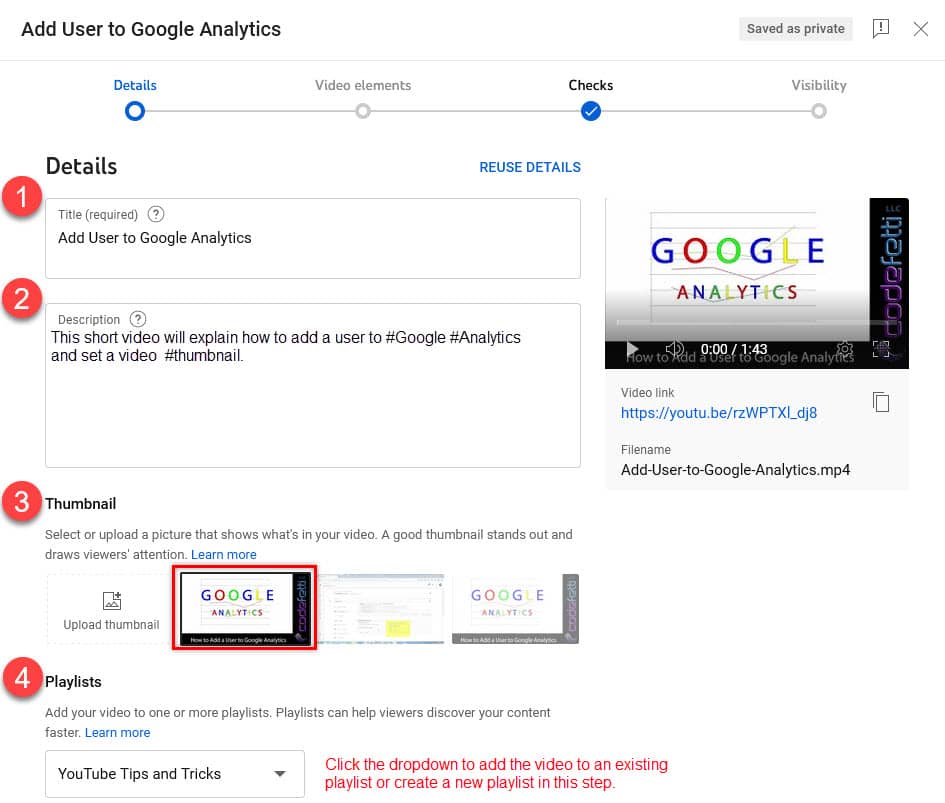
Add YouTube Video Details
- Give your video a descriptive title.
- Add a short but helpful description which includes hashtags (#) in front of keywords or key phrases. This will make your content more searchable and help Google better understand what the video is about.
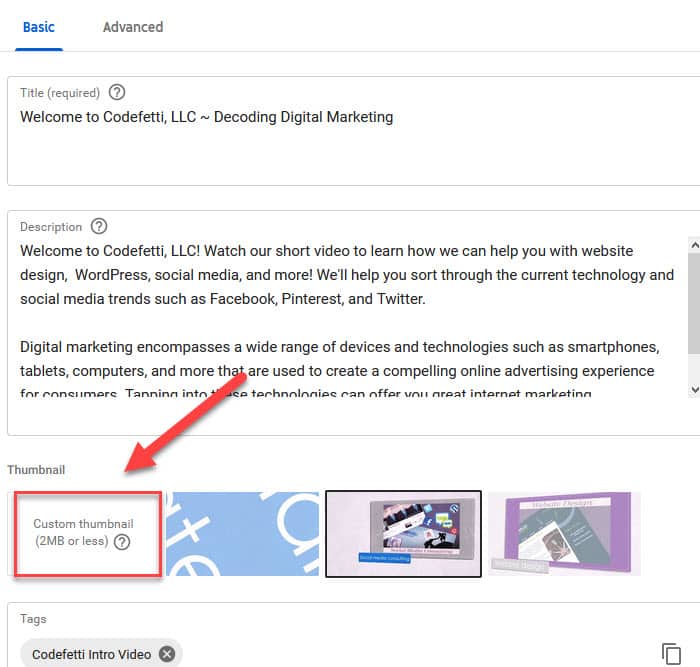
- Upload a video thumbnail. If you don’t have a thumbnail image created, YouTube will automatically create one from your uploaded video.
- Add your video to a playlist.
See the screenshot below:
After you’ve selected your playlist, click the “Show More” button to get to the Tags section:
Tag Your Videos
Here is where you can further categorize YouTube videos by assigning meaningful tags:
There are several types of tags you can add to your video to further optimize your YouTube channel:
Types of Tags
- Specific Tag: a one-word tag. For example: “WordPress”
- Compound Tag: a tag with several words. For example: “WordPress Tips and Tricks”
- Generic Tag: such as How To, or Tutorial. For example: “How to Turn Off WordPress Comments”
- Misspelled Words Tag: which tags your video by commonly misspelled words. For example: “Wordpres”
- Hashtags: which are used on most social platforms. Add a # before your keywords/key phrases: #WordPress
Properly tagging your video will ensure that it gets optimal exposure as people search for your content.
Click the next button and you will see a screen to add optional video elements:
Optional Video Elements
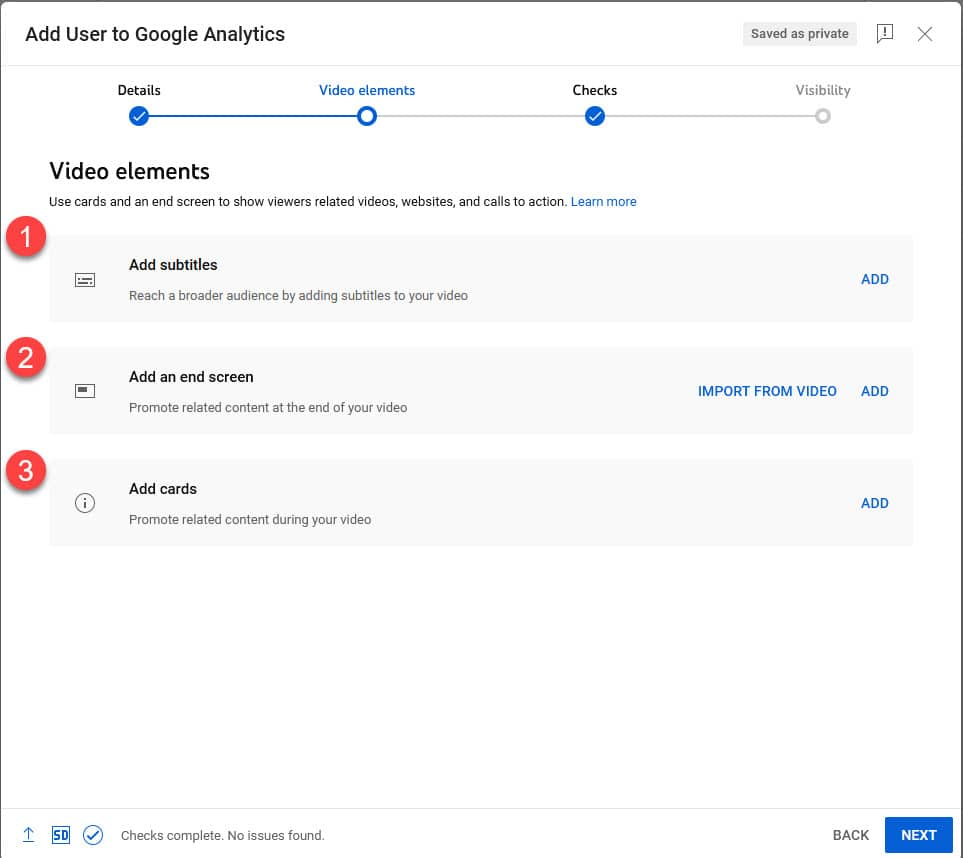
Visit YouTube support to learn more about these optional settings.
Click the Next button to go to YouTUbe Checks.
YouTube Checks
Next, YouTube will check your video for issues that need to be corrected before you publish your video.
YouTube will also do a copyright check:
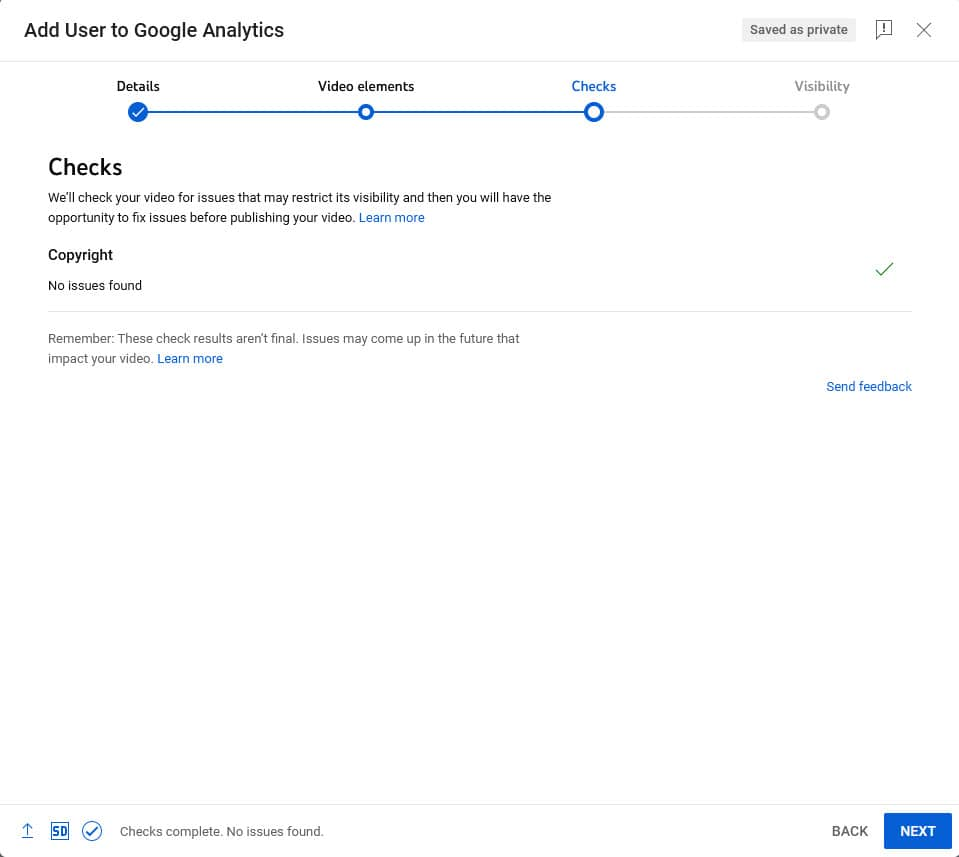
Click Next to go to the final screen where you can choose your video visibility.
YouTube Video Visibility
Set who can see your video and choose to publish it immediately or schedule it to be published later.
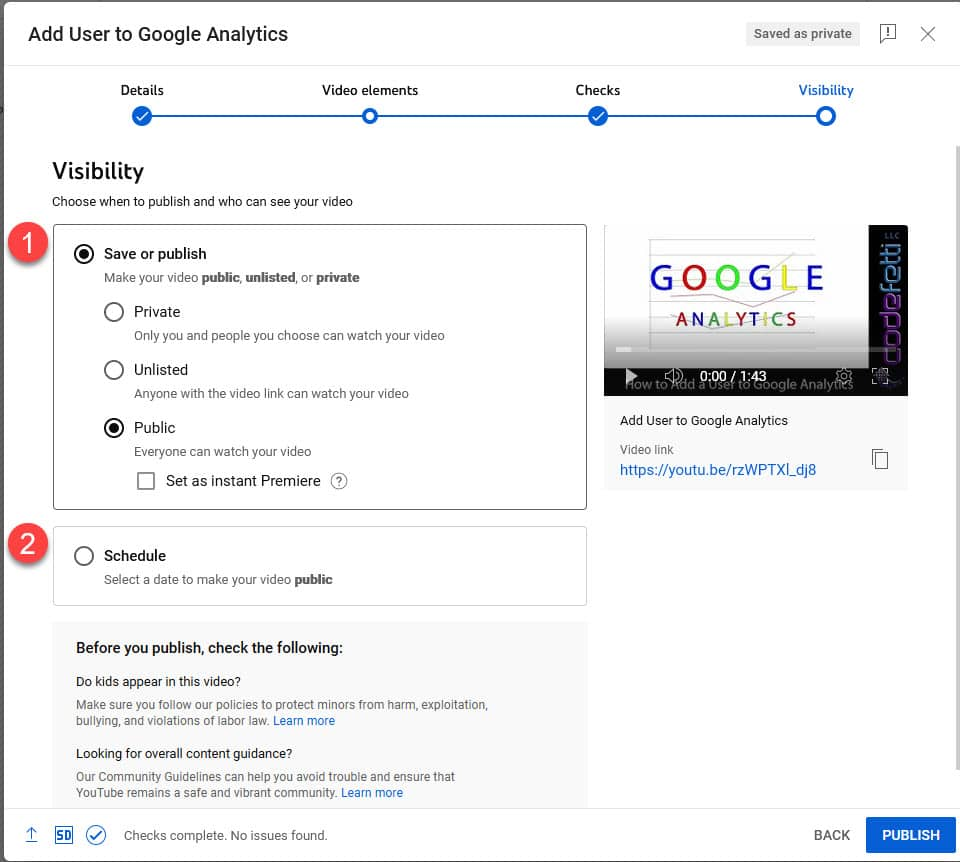
Click the “Publish” button to make your YouTube video live.
Edit YouTube Video Tags and Settings
Sometimes it’s necessary to edit your video settings and information once you’ve uploaded a video.
Maybe you want to add more tags, change a description, or add the video to another playlist.
Click on “Your videos” tab in the far left panel.
1. Check the check box next to the video you want to update.
2. Click the EDIT drop down.
3. Add or change the video tags and settings as desired:
Next, we’ll look at step-by-step instructions that show how to categorize YouTube videos into playlists.
How to Categorize YouTube Videos into Playlists
By grouping your videos into categories of like topics into playlists, your YouTube channel will be organized and provide a better experience for your visitors.
A simple way to categorize YouTube videos is through the use of playlists or sections.
You can create a new playlist by following this procedure:
Create a New Playlist:
- Log into your YouTube channel.
- Click on the “CREATE” button in the top upper right corner next to your channel logo.
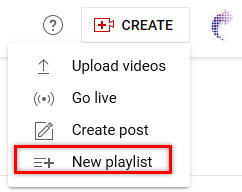
3. Click on + New Playlist and add your playlist title
4. Choose privacy settings: Public, Unlisted, Private
5. Click Create
Add Your Video to the Playlist
1. Click on “Your videos” tab in the far left panel.
2. Check the check box next to the video you want to categorize.
2. Next click the Add to Playlist drop down at the top
3. Select the desired playlist or create a new playlist:
Now your video will be streamed alongside videos of similar content. It will also appear in search results and suggested video results.
Next we’ll look at how to use sections and why you might want to add sections to your channel.
How to Create a Section on YouTube
Sections let you organize videos and playlists into groupings.
The four pre-populated sections are automatically created and include public content such as short videos, uploads, created playlists, and subscriptions.
Your channel can contain up to 12 sections. And sections can hold one or more related playlists, channels, and/or videos.
You can learn more about sections in YouTube’s online help.
How to Create a Video Thumbnail
Creating a video thumbnail is optional, but it’s a nice way to attract attention and get some brand recognition.
Otherwise, you are limited to the 2 or 3 thumbnail snapshots that YouTube generates when you upload a video. And you have no control over the type of thumbnail that YouTube creates.
Create a Custom Thumbnail
In order to create a custom thumbnail, you must first verify your account. Once verified and if you are in good standing, you’ll be able to upload your custom thumbnail.
Thumbnail dimensions should be 1280 pixels wide by 720 pixels tall, with a minimum width of 640 pixels.
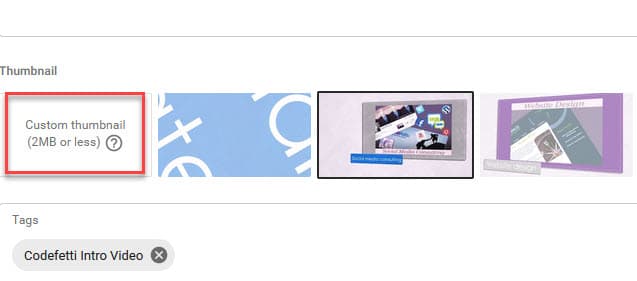
The image must be a JPG, GIF, or PNG and smaller than 2MB.
It’s best practice to create your image with a 16:9 aspect ratio for best viewing.
Once your video has been uploaded, choose your thumbnail:
You can also add a new thumbnail to an existing video by clicking Customize Channel, click on the video, click edit:
Watch Our Video Tutorial:
Please note: while this blog post has been updated to reflect the latest YouTube instructions, the video tutorial is outdated for some of the newer features. It is being updated as time permits.
In Summary
In this post you learned how to tag your videos and categorize them into sections and playlists.
It may seem a bit overwhelming at first, but once you’ve uploaded a few videos you will see how easy it is to keep your YouTube channel organized.
Image credit: Fotolia
