Set Up Pinterest Article Rich Pins with Yoast SEO Plugin

It’s easy to set up Pinterest article rich pins with Yoast.
Article rich pins add extra details to your pin, which makes it easier for pinners to find and save articles that are important to them.
Please note that Pinterest changes their procedure from time to time, and I make every effort to keep this post current.
So as of this writing, the following procedure is accurate and will show you how to set up article rich pins with Yoast SEO plugin.
Types of Pinterest Rich Pins
Currently there are three types of Pinterest rich pins: product, recipe and article.
This blog post will focus on article rich pins which display a headline, author and description.
Setting Up Rich Pins
You need to have a free Pinterest business account in order to apply for rich pins. You can upgrade your personal account or create a new business account.
Once you have your business account, you’ll need to claim your website as follows:
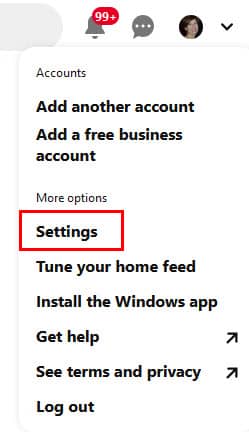
Click the SETTINGS option from your profile:
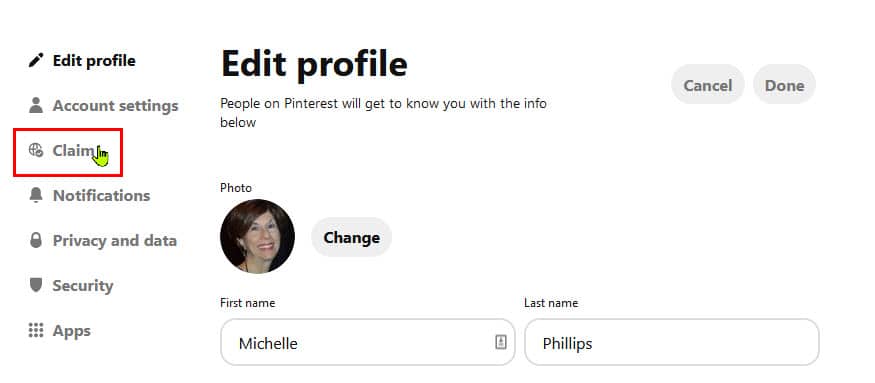
Click CLAIM from the left menu:
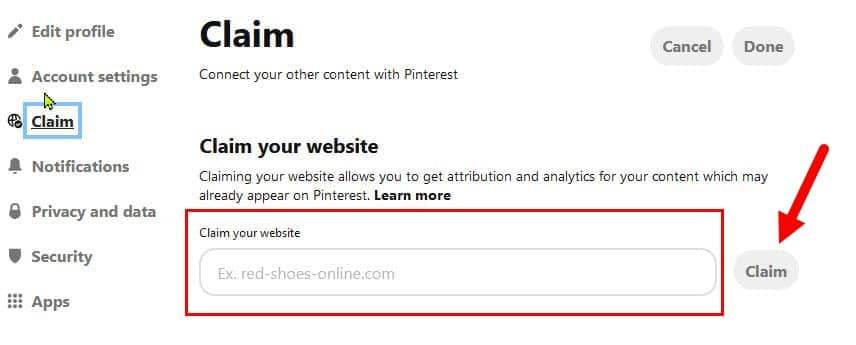
Add your website URL and click the CLAIM button
After you have clicked the Claim button, Pinterest will give you an option to either add an HTML tag to your website header or upload an HTML file to your website’s root directory.
See the screenshot below.
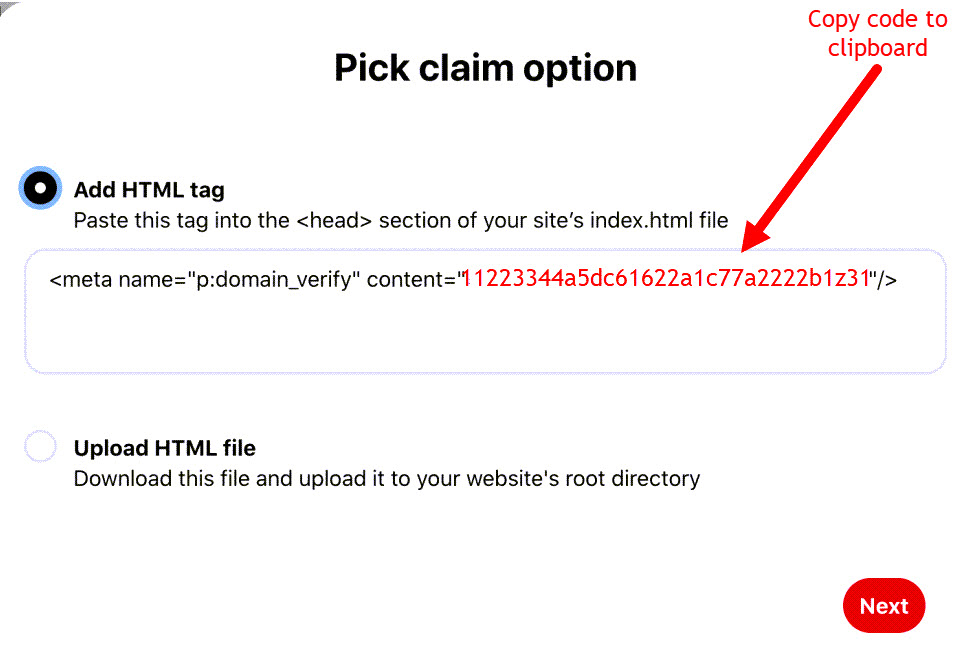
We’ll use the first option (Add HTML Tag) because it is easy to do with Yoast SEO Plugin.
Copy only the contents between the quotation marks as shown in the screenshot. (I’ve marked the code you need to copy in red).
You’ll then add that copied information to the Yoast SEO plugin, which I explain below.
Please note: You may have seen instructions elsewhere online to include the entire code snippet in your markup, but that is now obsolete. You will get an error from Yoast if you copy the entire snippet.
So remember, all you need to add is the code after “content=”.
Once you’ve copied it you can return to your WordPress website and add the code to Yoast SEO.
Here are the instructions to set up Pinterest Article Rich Pins with Yoast SEO Plugin.
Install Yoast SEO plugin.
1. Log into your dashboard.
2. Click on Plugins > Add New.
3. Search for Yoast SEO and install and activate it.
Once you have Yoast SEO plugin installed:
1. Log into your dashboard.
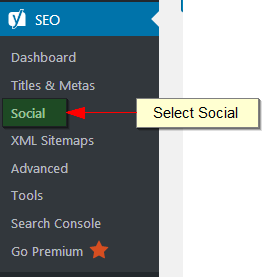
2. Click on SEO > Social.
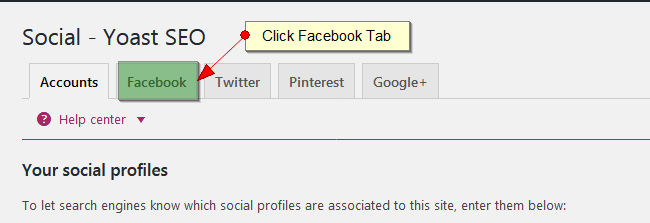
3. Click on the Facebook tab.
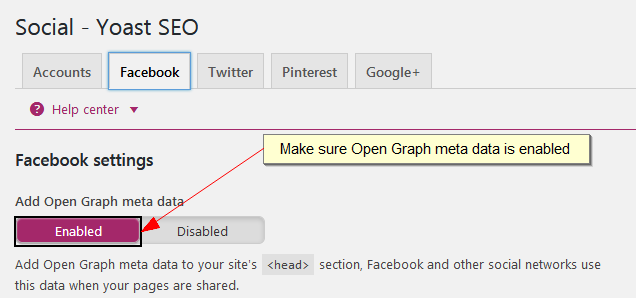
4. Make sure “Add Open Graph meta data” is enabled:
5. Click on the Pinterest tab and add code.
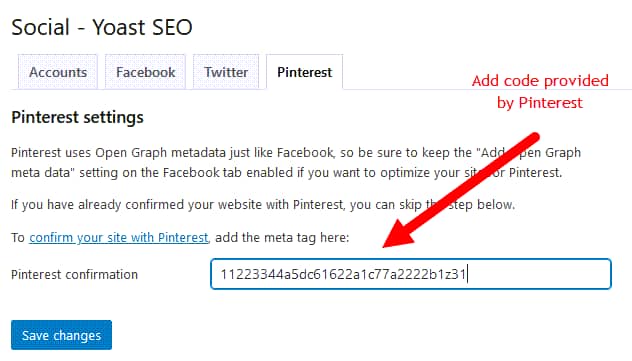
6. Click Save Changes.
When the code has been added to your website, you’ll need to return to the Pinterest screen and then submit your website for review.
Pinterest generally will get back to you within 24 hours and let you know that your site has been validated.
I hope this post has been helpful to you and that you now understand how to set up Pinterest article rich pins with Yoast SEO.
Please feel free to leave any questions or comments below.